
Lighting Tutorial - Fortune Teller shoot
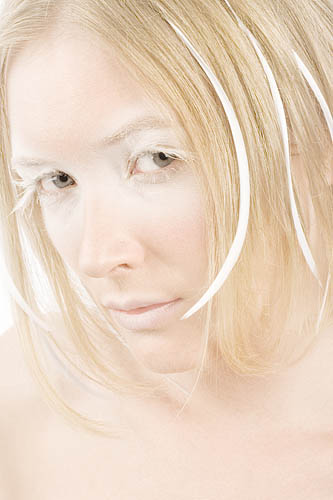
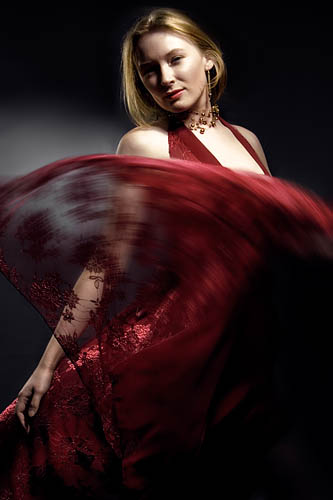
This is the first in what will hopefully be a long series of tutorials I’ll be posting on how I’ve achieved the effects I have in some of my shoots. The subject for today is one of the more creative setups I’ve come up with. It’s the kind of setup that you run over in your mind and are never sure if it’ll work until you give it a go…First up here are a couple of the shots I took with the setup:
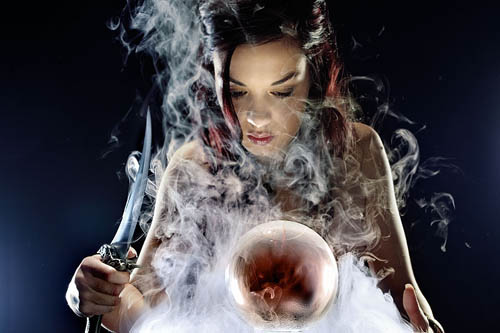

Now there’s not as much photoshop done to these images as you might first think. Just some local contrast adjustment and colour tweaking, that’s it. The effect was achieved by the use of 3 strobes. The first two were standard rim lights set up behind and to each side of the model to provide separation between her and the black background. The third was the creative one, I actually had it shining up from the bottom through the crystal ball.
The setup was as follows: I started with a small round glass table & used cloth to mask off around the edges and even most of the table top, just leaving a circle in the middle, the strobe was placed under the table and faced upward so that it would fire through that circle and not spill anywhere else. I then got a large glass bowl and a drinking glass both of the same height & placed the drinking glass in the bowl and the crystal ball on the glass. I then filled up the bowl with hot water and dropped some dry ice in the bowl of water for the smoke. The result being that with the smoke flowing out of the bowl of water and the crystal ball being of the same height of the bowl that the ball appears to be floating on smoke, with light coming from underneath through the table, bowl, glass and finally crystal ball to illuminate the smoke & the models hands and face.
I wasn’t sure it would work before we tried it but couldn’t have been happier with the results. Often when you try playing around with ideas like this (and even less adventurous) some little thing you never figured on ruins everything and you have to play around a lot to get something decent out of the setup. This was one of the rare experiments that just WORKED, straight up.
 Ben Heys


 Copyright © 2007, Ben Heys. All rights reserved.
